A minimal starting point for Next.js projects. Built with Next.js, TypeScript, and MUI. Uses markdown files with YAML frontmatter for content management.
⚡ View demo: ts-mui-starter.netlify.app
If you click "Deploy to Netlify" button, it will create a new repo for you that looks exactly like this one, and sets that repo up immediately for deployment on Netlify.

This is a simple starting point that demonstrates the use of a component library (MUI) with Next.js and TypeScript:
- Flexible Pages: Simple and flexible page model based on markdown files
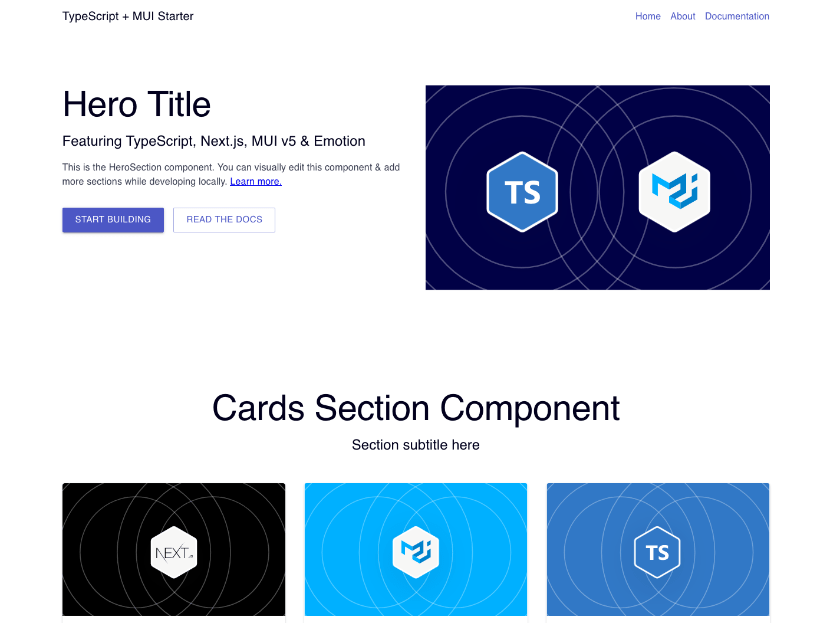
- Basic Components: A few basic components including HeroSection and CardsSection
- Layout Elements: Header and footer elements automatically added to pages
- TypeScript Support: Components and content are type-safe (see
typesdirectory for definitions) - MUI Integration: Full Material-UI component library with custom theming
- Static Site Generation: Fast page loads with Next.js SSG
- Next.js 16 - React framework with SSG support
- React 19 - Latest React with the new JSX transform
- TypeScript - Type-safe development
- MUI v6 - Material Design component library
- Emotion - CSS-in-JS styling
- Markdown - Content management with frontmatter
Clone this repository and install dependencies:
npm installRun the Next.js development server:
npm run devOpen http://localhost:3000 in your browser to see the result.
├── content/
│   ├── data/          # Site configuration (JSON)
│   └── pages/         # Page content (Markdown with frontmatter)
├── public/            # Static assets
├── src/
│   ├── components/
│   │   ├── atoms/     # Basic UI components
│   │   └── sections/  # Page sections (Header, Footer, HeroSection, etc.)
│   ├── pages/         # Next.js pages
│   ├── types/         # TypeScript type definitions
│   └── utils/         # Utility functions and theme
└── package.json
Add a markdown file to content/pages/:
---
title: My New Page
type: Page
sections:
  - type: HeroSection
    title: Welcome
    subtitle: This is my new page
    text: Add your content here
---Modify content/data/config.json to update the header, footer, and site settings.
npm run dev- Start development servernpm run build- Build for productionnpm start- Start production servernpm run prettier- Format code with Prettier
MIT